I remember first time seeing the Strata Cloud Manager (SCM). One of the first things that came to my mind was How can I automate that?. I quickly found out, that in order to start automating, I need to prepare my tenant first. In this article, I’ll cover the necessary steps you need to take to start your SCM automation journey.
Required data for automation
To start working with the SCM REST API, we need to have the following data:
- Client ID
- Client Secret
- Tenant ID
Let’s review those components.
Client ID and Secret
To obtain Client ID and secret, we need to create a service account. It’s a logic entity used for the REST API calls. Every service account has a set of privileges, so we can granularly select permissions.
Tenant ID
In the Strata Cloud Manager, we can have multiple tenants. Each of them can have a different set of service accounts. That’s why for the REST API calls, we need to a tenant ID (also called TSG ID). There are many places that we can get this number from, but in this tutorial, we will grab it during the creation of the service account.
Service account creation
I’ve created a new tenant for the purpose of this article, it’s called Scandinavia. My goal here is to create a service account just for this tenant, so I’ve started with selecting it and launching Strata Cloud Manager.
Main screen
To create a service account, open the main left panel of the Strata Cloud Manager, and go to Settings.

The second left panel will appear. From that place head to the Identity & Access.

Identity & Access
Here we can view and manage user and service accounts. We will need a service account for the automation, so let’s create one by going to the Add Identity.

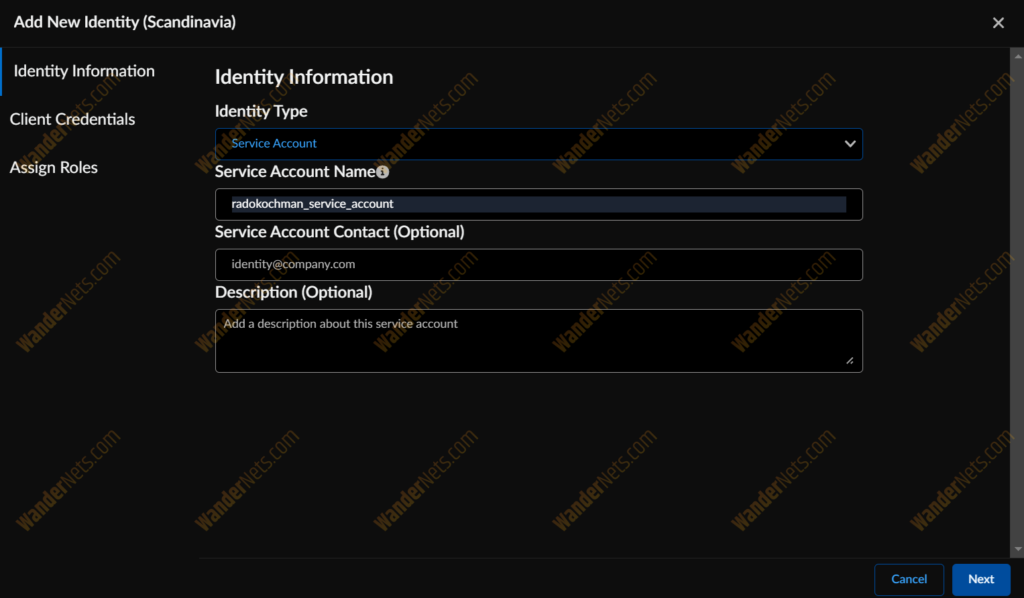
In the first section, we need to provide some identity information:
- Identity type – we can choose between the user account and the service account. For the automation, we’re going with Service Account.
- Service Account Name – we can define a custom name for our service account, so it’s easier to distinguish them later on.
- Service Account Contact – contact e-mail address for this account. This is an optional parameter.
- Description – Account description. Service accounts have a granular This is an optional parameter.
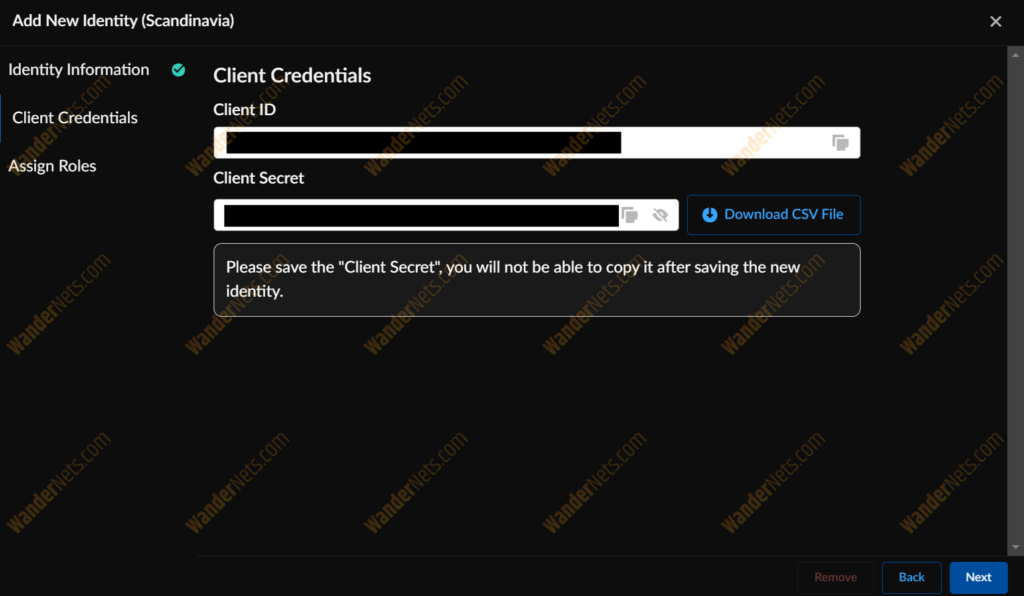
Here’s the important step. Credentials of our freshly created account are displayed here. Make sure to save Client ID and Secret, because we will need it later on.
You can display Client ID later on, but not the Secret. If it’s lost, you will need to reset it.
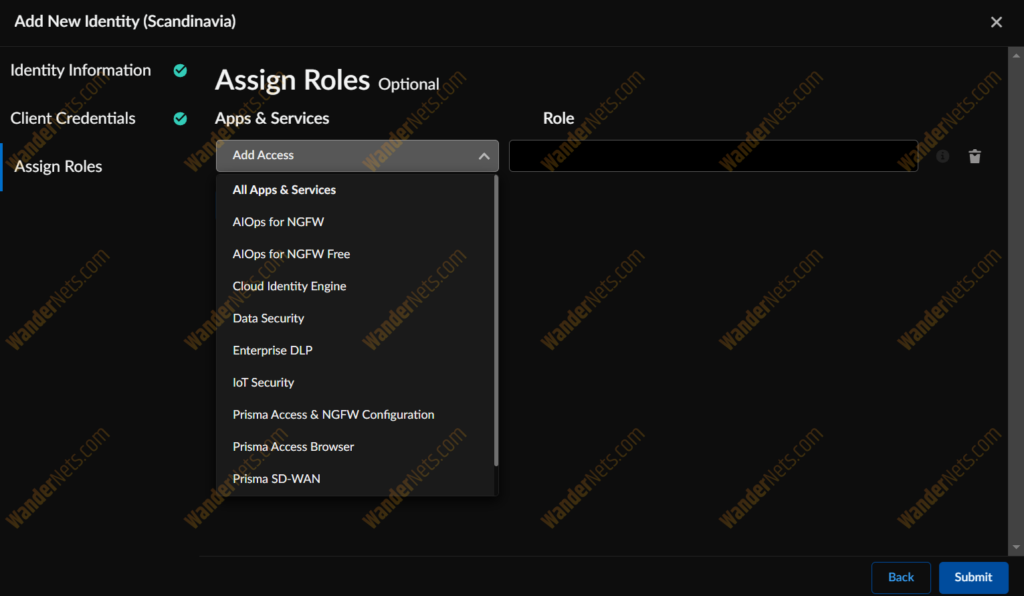
The Assign Roles section is a place where we can select to which apps and services the account will have access to. In this example, I’ll go with the All Apps & Services, so the account will be able to access everything.
Then we can choose between a pre-defined roles.
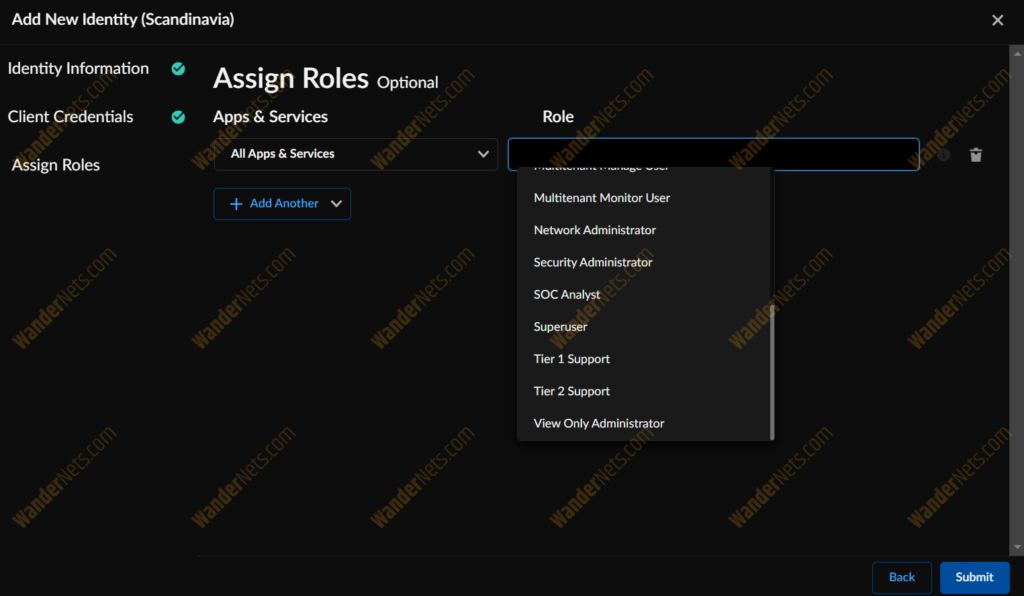
Since I want my account to have admin privileges, I’ve picked the Superuser.
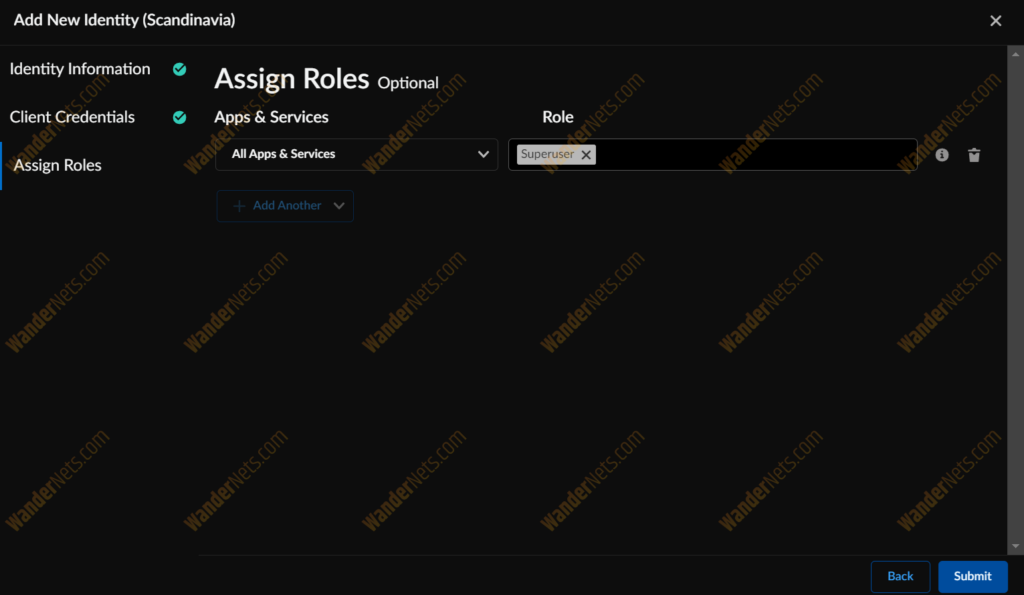
After submitting, we’re getting back to the Identity & Access page.

The newly created service account should be visible in the list on this page.
What’s more, we can grab a Tenant ID from that page too, it’s visible at the top of the screen after the tenant name. On the screen above, it’s covered with a white rectangle after Scandinavia (TSG ID: …).
What’s next
After the account creation, we have everything that’s required for automation – Client ID, Client Secret and Tenant ID. You may wonder what’s next with that? You can jump straight to creating security rules in the Strata Cloud Manager with Python!
